 Code-Hero: Python
Using Python with Code-Hero
👋 Welcome to the Stackhero documentation!
Stackhero offers Code-Hero, a complete development platform to code in seconds:
- Code from anywhere: Use any device, be it a desktop, phone, or tablet, without requiring any software installations.
- Integrated VSCode experience: Work with a customised version of VSCode directly through your browser, featuring a fully functional terminal.
- Comprehensive toolset: Benefit from a pre-configured environment with tools and languages like
Docker,Git,Zsh,Node.js,Go,Python,Ruby, and more.- Seamless connectivity: Access your development applications via HTTPS on a public domain, mimicking production conditions. This setup supports webhooks and external integrations effortlessly.
Experience the efficiency and convenience of Stackhero's Code-Hero development cloud solution. It takes just 5 minutes to get started! Simplify your development processes and save valuable time today.
Code-Hero comes with asdf, a handy utility that allows you to select the Python version you require. By default, the latest Python version is installed. You can easily verify the installed version by running:
python -V
Change the default Python version
If you wish to use a different Python version, follow these steps:
-
Update all plugins:
asdf plugin update --all -
List all available Python versions:
asdf list all python -
Install your chosen version:
asdf install python <VERSION>
After installing the desired version, decide whether to apply it globally or locally.
-
To use the version globally (across all directories), run:
asdf global python <VERSION> -
To use the version locally (in your current directory), run:
asdf local python <VERSION>The local command generates a
.tool-versionsfile in your current directory with the chosen version details.
Confirm that the correct Python version is active by running:
python -V
How to use Matplotlib and Jupyter
When working with Matplotlib, viewing your graphical results is essential. A powerful and straightforward way to achieve this is by using Jupyter.
To enable Jupyter, add the #%% marker at the top of your code. This marker splits your file into executable cells. For example:
#%%

import matplotlib.pyplot as plt
import numpy as np

plt.style.use('_mpl-gallery')

# Generate data
x = np.linspace(0, 10, 100)
y = 4 + 2 * np.sin(2 * x)

# Plot data
fig, ax = plt.subplots()

ax.plot(x, y, linewidth=2.0)

ax.set(xlim=(0, 8), xticks=np.arange(1, 8),
       ylim=(0, 8), yticks=np.arange(1, 8))

plt.show()
After you add #%% at the top, blue lines will appear at the top and bottom of your code block. Click the "Run Below" link at the top of your code to execute the cell.
On the first run, some tools will be installed. This installation may take some time, but rest assured that subsequent executions will be smooth and fast.
This action splits your window into two parts. On the left, you see your code, and on the right, the resulting output.
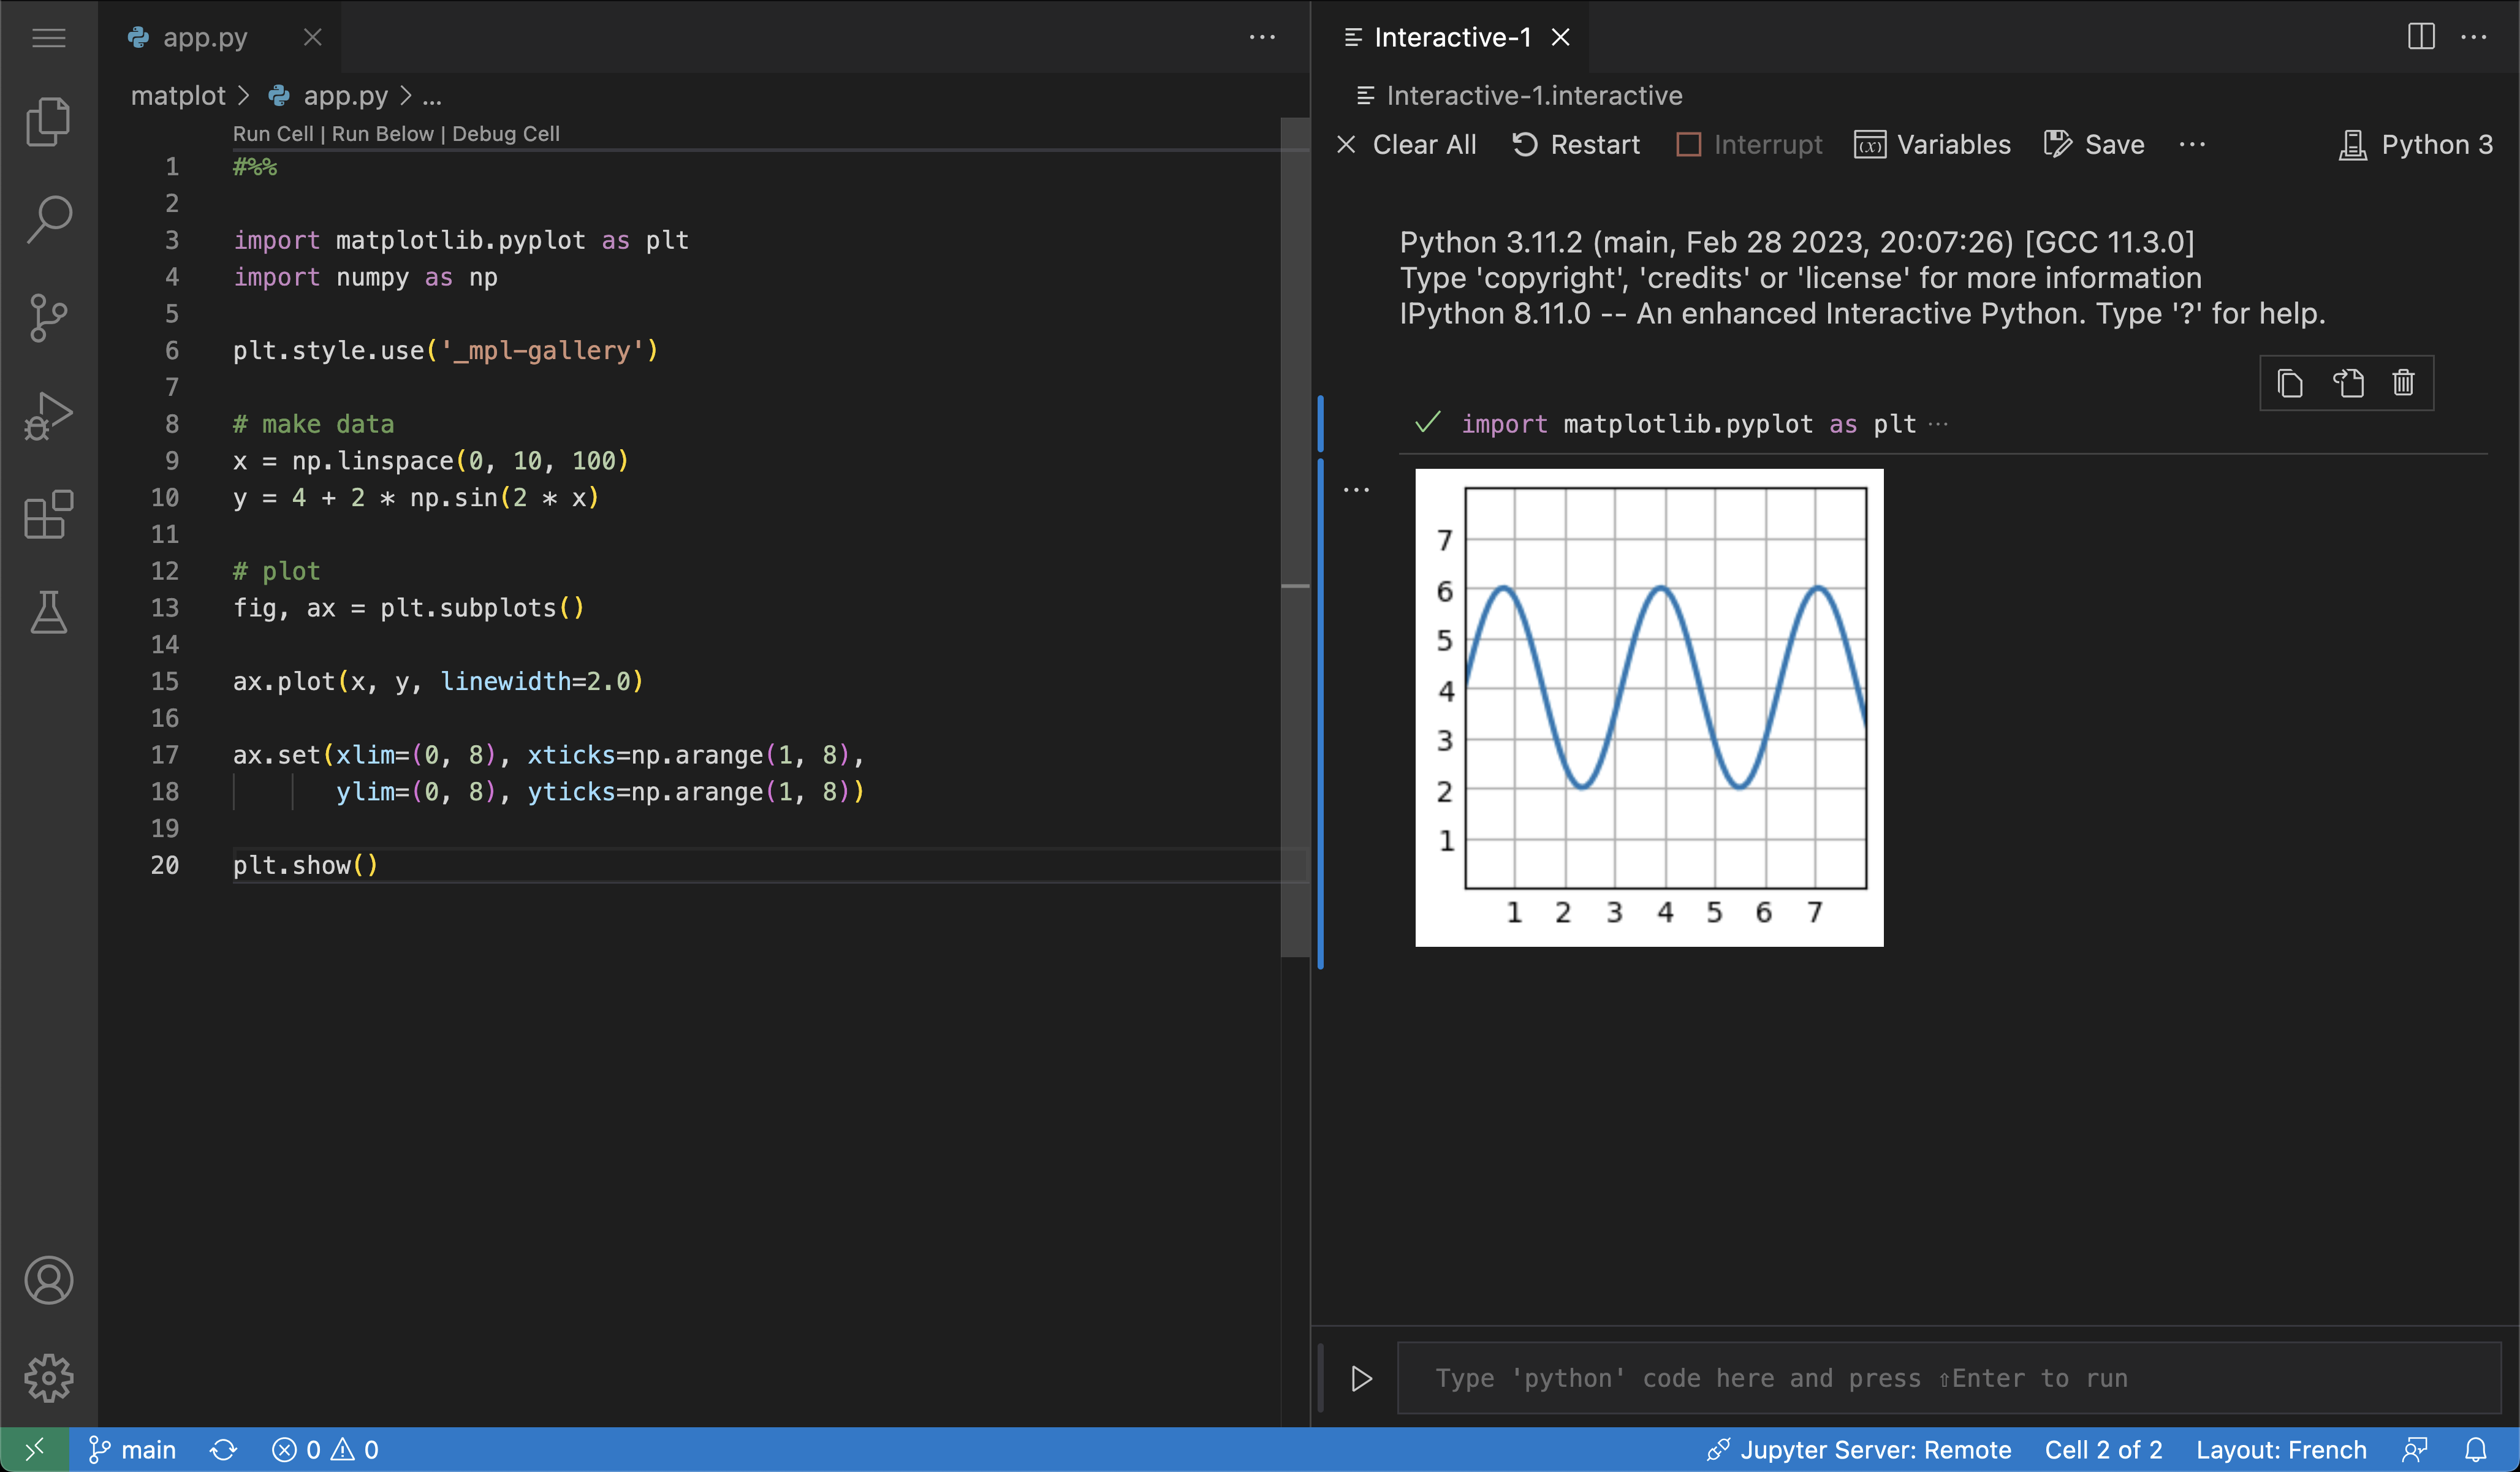 Example of code running using Jupyter