 Mercure-Hub: Getting started
How to get started with Mercure-hub
👋 Welcome to the Stackhero documentation!
Stackhero offers a ready-to-use Mercure-Hub cloud solution that provides a host of benefits, including:
- Unlimited requests and message sizes.
- Customisable domain name secured with HTTPS (for example, https://real-time.your-company.com).
- Effortless updates with just a click.
- Optimal performance and robust security powered by a private and dedicated VM.
- Available in 🇪🇺 Europe and 🇺🇸 USA.
Save time and simplify your life: it only takes 5 minutes to try Stackhero's Mercure-Hub cloud hosting solution!
What is Mercure-hub
Imagine you have a website that sells books and you want to display the available stock in real time.
Pushing data from the back end to the front end can be challenging. Mercure-hub simplifies this by enabling you to send data directly to customers' browsers in just a few minutes. The best part is that it works with any programming language because it leverages the HTTP protocol!
How Mercure-hub works
Consider a scenario where a customer is viewing a book with the ID 1.
On the front end, you subscribe to the topic /books/1 on Mercure-hub using the Server-Sent Events (SSE) API, a native HTML5 feature. With around 10 lines of JavaScript code and no need for external libraries, this approach remains both straightforward and efficient.
On the back end, when a book is purchased, you send an HTTP request to Mercure-hub to update the stock. For instance, if there are 7 books with the ID 1 and a user buys one, the updated stock becomes 6.
Your back end sends { stockCount: 6 } to the topic /books/1 on Mercure-hub so that every user viewing that book instantly receives the updated stock count. This process requires only an HTTP request from the back end and just a few lines of code on the front end.
This principle can be used to push data from the server to the client, between clients, or even between servers.
Getting started with Mercure-hub
On the client side (your front end), simple JavaScript code that leverages the HTML5 SSE API is all you need.
Note: In this example, the subscriber is not authenticated. To make this example work, you must allow anonymous subscribers on the Stackhero dashboard.
const endpoint = '<XXXXXX>.stackhero-network.com';

const url = new URL('https://' + endpoint + '/.well-known/mercure');

// Add topics to listen to
url.searchParams.append('topic', `https://${endpoint}/users/1234`);
url.searchParams.append('topic', `https://${endpoint}/books/1`);

const eventSource = new EventSource(url);

// The callback is invoked each time an update is published
eventSource.onmessage = e => console.log(e);
On the server side (your back end), when you want to dispatch an update, simply send a POST request to the Mercure-hub API. Below is an example using Node.js along with the JsonWebToken and Request libraries:
const jwt = require('jsonwebtoken');
const request = require('request');

const endpoint = '<XXXXXX>.stackhero-network.com';
const publisherJwtKey = '<your publisher JWT key>';

// Define the data to dispatch
const data = {
  // The topic where the data will be pushed
  topic: `https://${endpoint}/books/1`,

  // The data to be sent to the topic
  data: JSON.stringify({
    available: false,
    date: new Date()
  })
};

// Generate the bearer token
const bearer = jwt.sign(
  { mercure: { publish: [ data.topic ] } },
  publisherJwtKey,
  {
    expiresIn: 60, // Token expires in one minute
    noTimestamp: true // Do not include the 'issued at' timestamp to avoid "Token used before issued" errors
  }
);

// Send the data to Mercure-hub so that it dispatches the update to clients
request.post(
  {
    url: `https://${endpoint}/.well-known/mercure`,
    auth: { bearer },
    form: data
  },
  (err, res) => err ? console.error(err) : console.log(res)
);
That's it! You now have a subscriber on the front end and a publisher on the back end working together seamlessly.
Mercure-hub client code example
If you want to test Mercure-hub, you can review the code examples available on https://github.com/stackhero-io/mercureHubGettingStarted.
These working examples include a simple front end page and a Node.js back end server that demonstrate how Mercure works in practice.
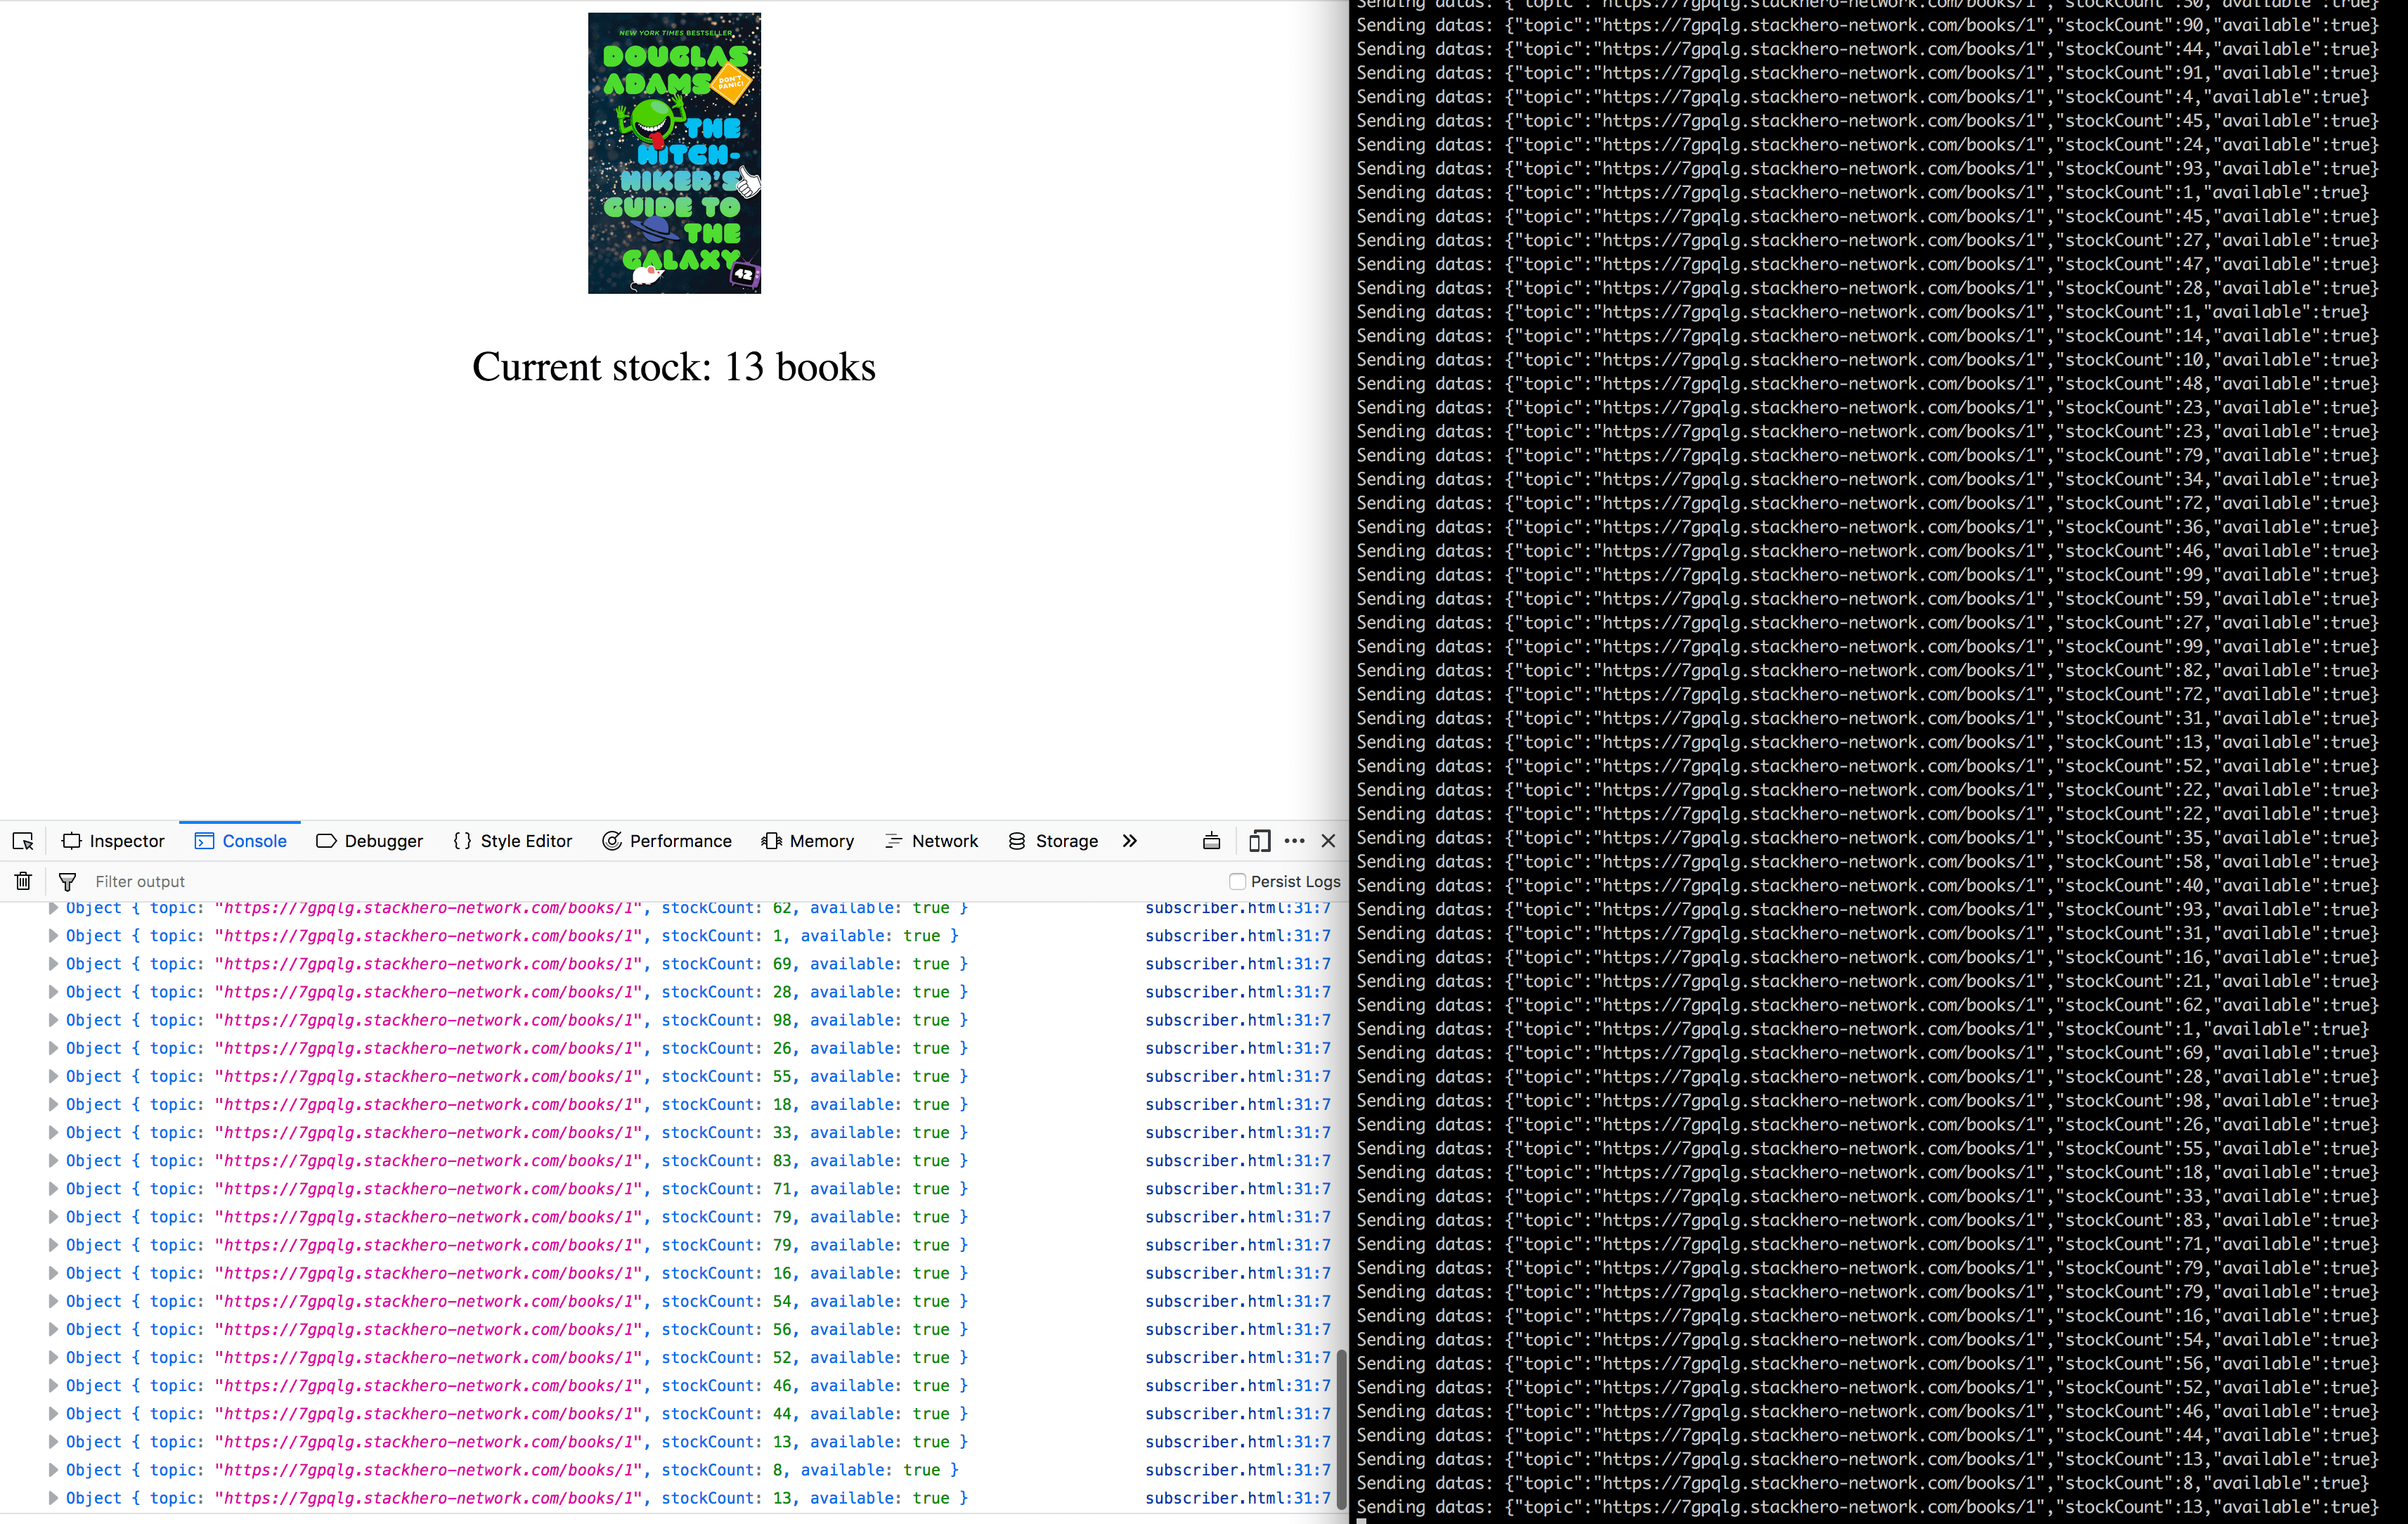 Simple example of back end and front end communication with Mercure-hub
Authentication of subscribers
In the earlier examples, subscribers were not authenticated and you needed to allow "anonymous subscribers" on the Stackhero dashboard.
To authenticate subscribers, you generate a JWS (JSON Web Signature) using the 'Subscriber JWT key' defined in the Stackhero dashboard. The JWS is then sent using either browser cookies or the authorization header.
Since the Server-Sent Events API does not support custom header definitions, cookies must be used. However, using cookies implies that your Mercure-hub server and client need to share the same domain (or subdomain).
If you wish to use SSE across different domains, consider an EventSource polyfill that allows header definitions. One option is available at https://github.com/Yaffle/EventSource.
First, generate a JWS for your client on your server side. An example is available in backend/subscriberJwsGenerator.js. Simply input your subscriber JWT and run the script using node subscriberJwsGenerator.js.
Then, on the front end, in the file frontend/subscriberWithAuthorization.html, fill in your endpoint and the generated JWS. Open the file in your browser and Mercure-hub will now work with authentication!
Don't forget to uncheck "Allow anonymous subscribers" in the Stackhero dashboard!