 Ruby: Development Platform
Prepare your development platform to be pleasant and efficient
👋 Welcome to the Stackhero documentation!
Stackhero offers a ready-to-use Ruby cloud solution that provides a host of benefits, including:
- Deploy your application in seconds with a simple
git push.- Use your own domain name and benefit from the automatic configuration of HTTPS certificates for enhanced security.
- Enjoy peace of mind with automatic backups, one-click updates, and straightforward, transparent, and predictable pricing.
- Get optimal performance and robust security thanks to a private and dedicated VM.
Save time and simplify your life: it only takes 5 minutes to try Stackhero's Ruby cloud hosting solution!
Having a well-configured development platform is essential for working efficiently and pleasantly.
In this documentation, we will explore developing remotely with a ready-to-code service and locally on your computer. Next, we will guide you through installing Ruby using asdf and conclude with instructions on creating a new Ruby project.
How to develop: locally or remotely
There are two popular approaches to Ruby development: setting up a local environment on your computer or using a cloud-based solution like Code-Hero. Each option carries its own advantages and challenges, so you can choose the one that best fits your needs and preferences.
Developing locally allows you to work offline without an internet connection. However, it may require extra time and effort to set up, especially if you are new to programming or when working with different tools and dependencies. You will also need to handle backups, work within the limitations of your computer's processing power, and ensure data security. Furthermore, local development restricts you to a specific device, which may limit your flexibility when accessing your projects on other devices.
In contrast, the remote cloud-based solution Code-Hero provides a preconfigured environment that is immediately ready for development. This platform features an intuitive Visual Studio Code fork interface and a wide range of built-in tools such as Git, Docker, Ruby, Rails, and more. One significant advantage of remote development is that the server is likely more powerful than your local machine, offering enhanced performance and resource availability. Additionally, because it is accessible via a browser, you can work on any computer, tablet, or phone, regardless of its operating system.
Moreover, with integrated tools like Docker and Traefik, setting up TLS encryption and using a real domain (for example, https://your-project.you.your-company.dev) is straightforward. This mirrors a production environment, resolving common challenges with external webhooks (GitHub, Slack, or Stripe), CORS, and other web services for a smoother development experience.
Ultimately, the choice between local and remote development depends on your personal preferences, technical skills, and project requirements.
To summarize:
-
Local development (on your computer):
- ✅ Works offline: Internet connection is not required
- ❌ Limited resources: May have less processing power compared with remote solutions
- ❌ Setup required: Manual installation and configuration of tools needed
- ❌ Maintenance: Regular updates and backups have to be managed manually
-
Remote development (on Code-Hero):
- ✅ Ready-to-use: Tools are pre-installed and pre-configured for immediate development
- ✅ Enhanced performance: Benefit from powerful CPU, RAM, and storage resources
- ✅ Device flexibility: Accessible from any computer, tablet, or phone
- ✅ External integration: HTTPS domain available for webhook interactions
- ❌ Internet dependency: Requires an internet connection
Developing in Ruby: the remote approach
Opting for a remote cloud approach to Ruby development provides a hassle-free experience thanks to pre-configured environments. This lets you dive into projects quickly without spending time on manual configuration.
Code-Hero runs on powerful servers, ensuring smooth performance even for resource-intensive tasks. With this option, you can focus on building Ruby projects and honing your programming skills with speed, convenience, and reliability.
Once your Code-Hero service is up and running, you can create your first Ruby project in seconds. For the remainder of this documentation, you can skip the "Develop in Ruby: the local approach" section and proceed directly to "Creating a Ruby project."
Developing in Ruby: the local approach
Setting up a local development environment involves installing Ruby, its dependencies, and the necessary tools on your computer.
Keep in mind that local development might be limited by hardware constraints and requires manual updates and backups.
Setting up your local Ruby environment
To start developing with Ruby on your local machine, you must install Ruby and its accompanying dependencies.
We will use asdf, a versatile tool that allows you to manage multiple programming environments and effortlessly switch between versions on a per-project basis.
Although the asdf tool may initially seem unfamiliar, it can greatly simplify your Ruby development experience by saving time and preventing issues associated with managing multiple environments.
In addition to Ruby, asdf works with many other languages such as Node.js, Python, and PHP, making it a valuable tool in your development toolkit.
Installing asdf
To install asdf, follow the steps outlined in the official documentation.
After installation, verify that asdf is functioning as expected by running:
asdf version
If the installed version appears, asdf is ready for use.
Installing Ruby using asdf
To install the latest version of Ruby using asdf, execute the following commands:
asdf plugin add ruby https://github.com/asdf-vm/asdf-ruby.git
asdf install ruby latest
asdf global ruby latest
After installation, confirm that Ruby works correctly by checking its version with:
ruby --version
This should return the Ruby version, indicating that it is properly installed and ready to use.
Creating a Ruby project
Creating a Ruby project is a straightforward process.
First, install the latest version of Ruby with:
asdf install ruby latest \
  && asdf global ruby latest
Then, install Rails. Since Rails is available as a Gem, you can easily install it by running:
gem install rails
Finally, create your application (here named my_app) and set the Ruby version using these commands:
rails new my_app
cd my_app
asdf local ruby latest
To start the Rails server, run:
bin/rails server
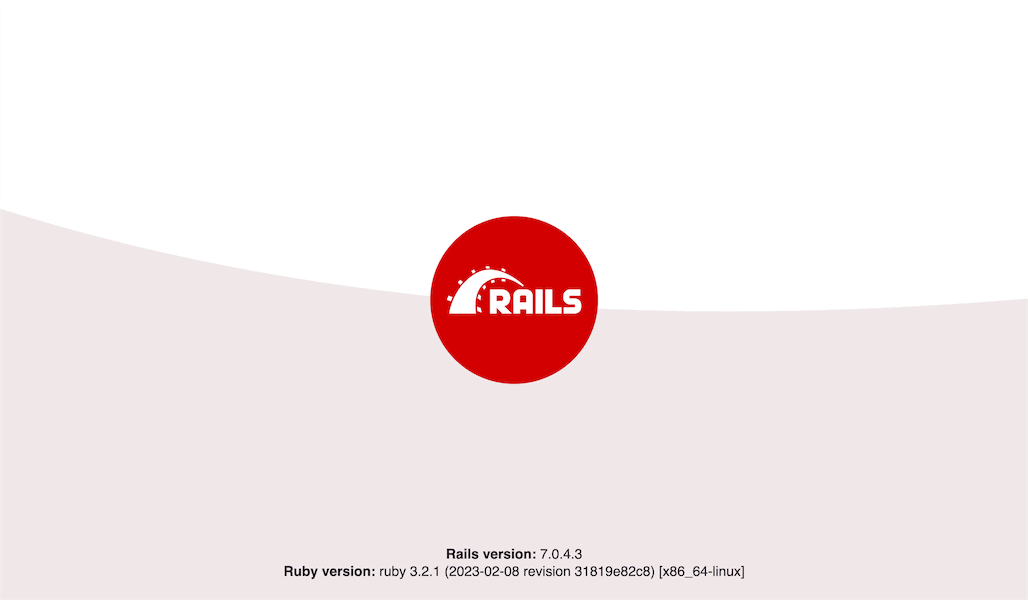 Ruby on Rails welcome screen
These steps set the foundation for your Ruby project and ensure that the correct Ruby version is used.
It's worth noting that a local Git repository for your Ruby project is created by default, but it is not yet connected to a remote repository hosting service.
To ensure proper version control and backup, consider connecting your project to a remote repository on your preferred platform, such as GitLab, GitHub, or Bitbucket.
If you are looking for a Git repository hosting service, Stackhero offers a GitLab cloud service that can be set up in just 2 minutes. It runs on a private and dedicated VM for maximum confidentiality and security and is available in Europe or the USA depending on your choice.
Special case with Code-Hero
If you are using an online development solution such as Stackhero Code-Hero, you will need to adjust your configuration. Edit the file config/environments/development.rb and add the following line just before the final end keyword, replacing <XXXXXX>.stackhero-network.com with your server's hostname:
config.hosts << "<XXXXXX>.stackhero-network.com"
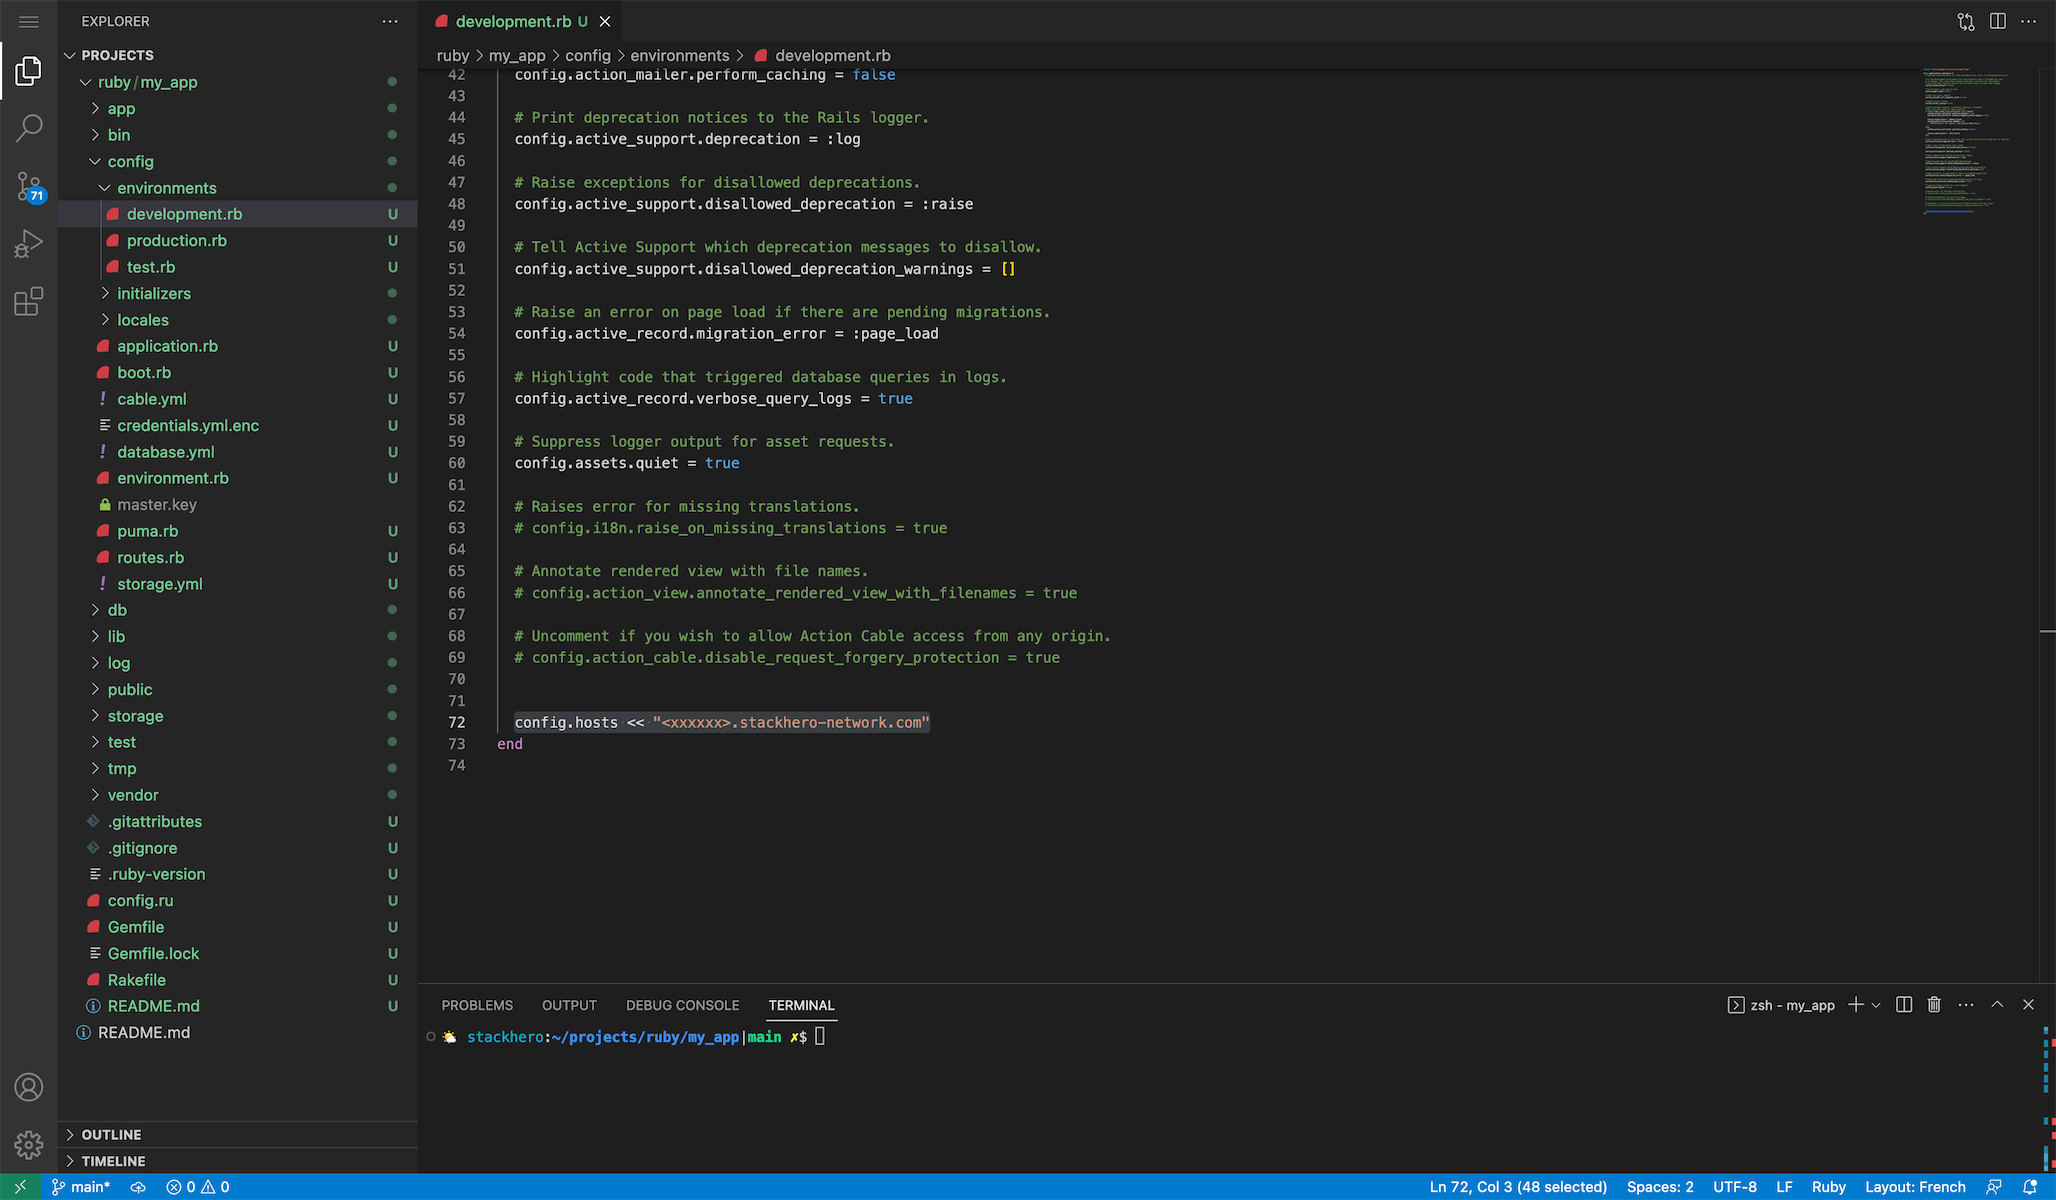 Hosts configurations example
After making this change, start the Rails server using:
bin/rails server -b 0.0.0.0